
In this tutorial, I’ll guide you through a step-by-step by procedure for setting up Android Application Development on Eclipse. Although there are various other compilers to develop android applications, Eclipse is one of the widely used platform. Eclipse is simply an IDE written in Java that contains a workspace and an extensible plugin for customizing the Integrated Development Environment.
It supports many programming languages: C, C++, Fortran, Natural, Javascript, PHP, Python, Ruby, and many more. Out of the various compilers available to develop android apps, Eclipse, being capable of providing a new dark theme with syntax highlighter settings for many programming languages, is widely preferred for the development of Android Applications.
Read more about Eclipse here.
Step 1. Download JAVA Development Kit (JDK) in accordance with your operating system i.e. if your operating system is x86, JDK should also be of x86 version. Click here to download JDK.
Step 2. The second step is to Download Eclipse. It recommended to download it from its Official Site. Download the eclipse that matches with your operating system.
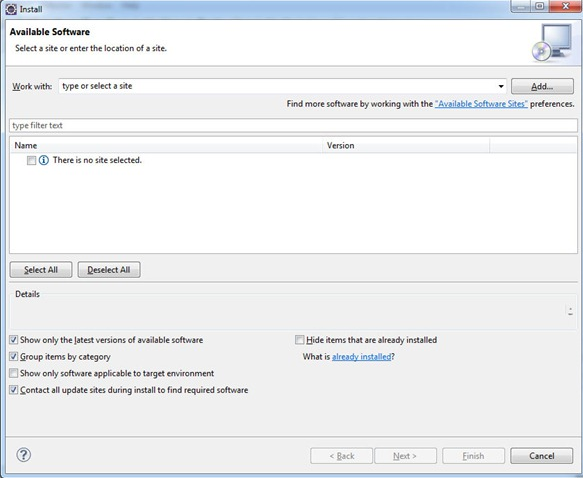
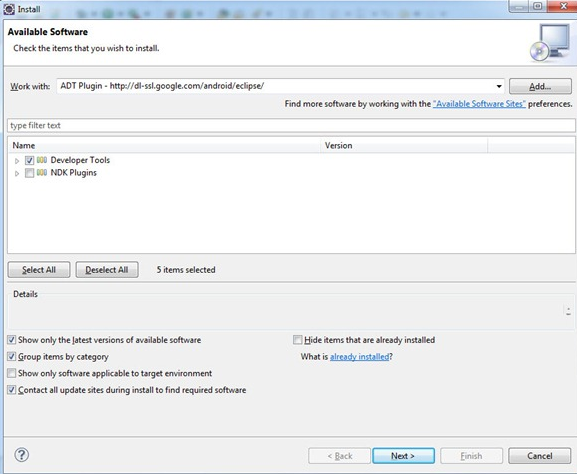
Step 3. Now, Android Development Tools(ADT) are required to be downloaded and installed following the sub-steps presented below:
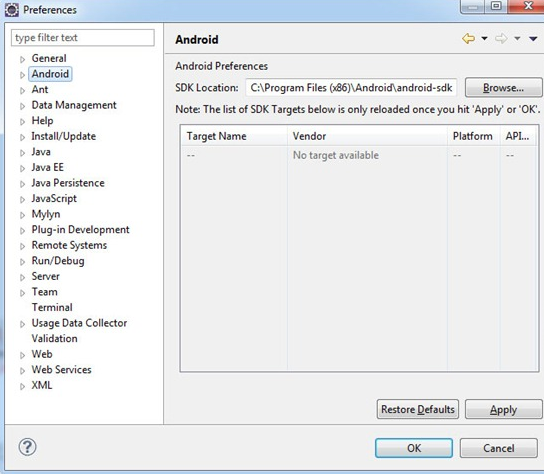
Step 4. The fourth and the last step is to Download and Install Software Development Kit(SDK). Go through the following sub-steps to download and install SDK.
Following above steps, you can easily setup Android Application Development on Eclipse. If you have any queries, feedback or suggestions regarding this tutorial, bring them up from the comments section below.